Het kweken van Medaka-rijstvissen is een fascinerend en lonend hobby dat je een uniek kijkje geeft in de levenscyclus van deze bijzondere visjes. Of je nu een ervaren aquariaan bent of net begint met Medaka’s, het verzamelen en uitbroeden van eitjes is een spannend proces dat met de juiste aanpak verrassend eenvoudig kan zijn. In deze gids neem ik je mee door alle stappen die je nodig hebt om succesvol Medaka-eieren te verzamelen en uit te broeden.
Medaka’s zijn van nature productieve broeders, en met een beetje aandacht en geduld kun je al snel je eigen kweek opzetten. Het mooie aan deze rijstvissen is dat ze relatief makkelijk te kweken zijn vergeleken met veel andere aquariumvissen, wat ze perfect maakt voor zowel beginners als ervaren kwekers. Laten we beginnen met het verzamelproces!
Medaka-eieren verzamelen: stappenplan
Het verzamelen van Medaka-eieren begint met het herkennen van het juiste moment. Vrouwtjes Medaka dragen hun eitjes na de bevruchting letterlijk met zich mee, bungelend aan hun buik in een karakteristieke druivenvormige cluster. Dit gebeurt meestal in de vroege ochtenduren, kort na zonsopgang. Je kunt de eitjes gemakkelijk herkennen als kleine, transparante bolletjes die via dunne draden aan het vrouwtje vastzitten. Dit unieke gedrag maakt het verzamelen relatief eenvoudig, omdat je precies kunt zien welke vissen eieren dragen.
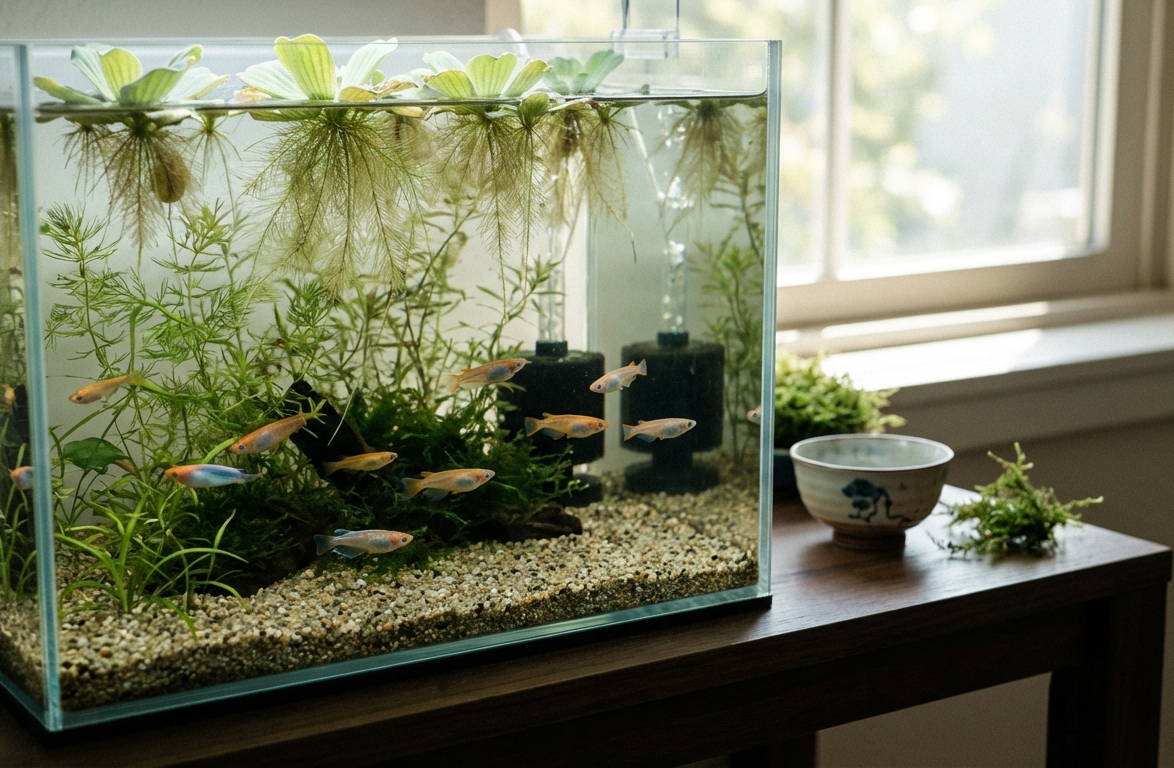
Er zijn twee hoofdmethoden om de eitjes te verzamelen. De eerste en meest gebruikte methode is het handmatig afnemen van de eieren. Vang het vrouwtje voorzichtig met een zacht netje en houd haar even stil boven het water. Met je vingers of een wattenstaafje kun je de eiertjes heel voorzichtig van haar buik afnemen – ze laten meestal gemakkelijk los. Wees hierbij extra zorgvuldig om de vis niet te stressen of te beschadigen. Een alternatieve methode is het gebruik van spawmops of fijne plantjes zoals javamos in het aquarium, waar de vrouwtjes hun eieren spontaan achterlaten wanneer ze door de vegetatie zwemmen.
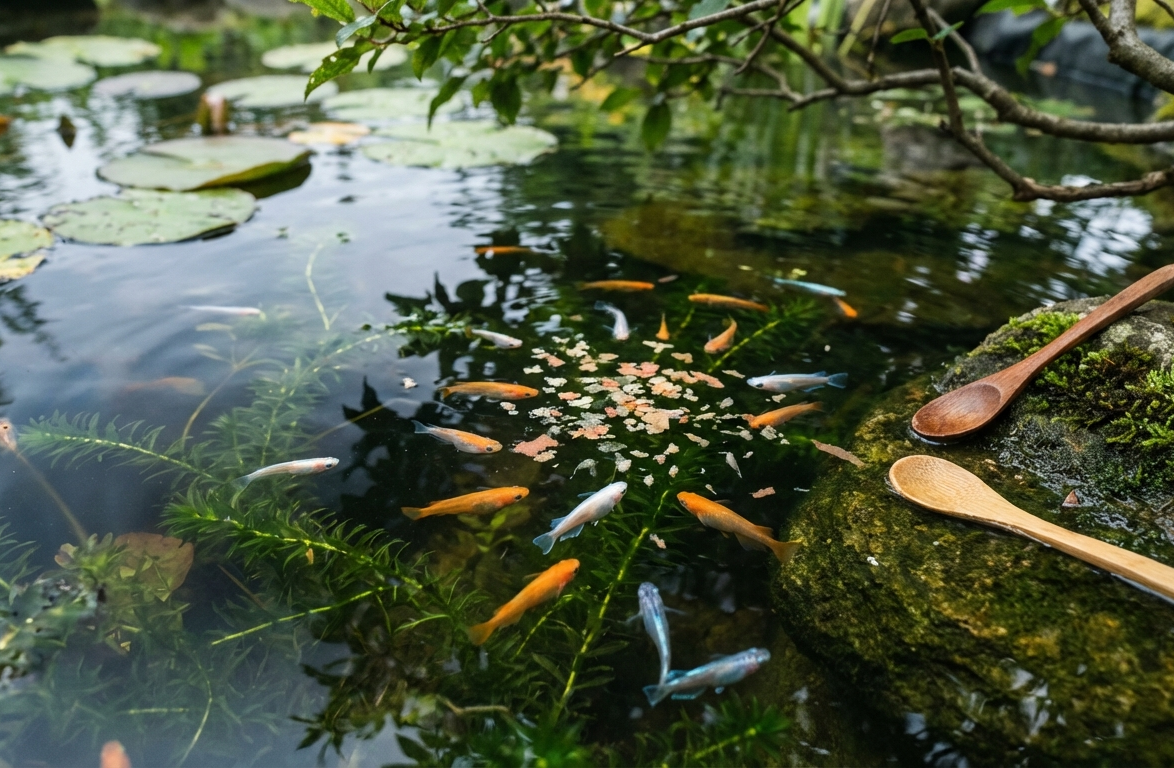
Voor optimale resultaten is timing cruciaal. Controleer je Medaka’s elke ochtend kort na het aangaan van de verlichting, want dan zijn de eitjes het meest recent gelegd en nog goed zichtbaar. Verzamel de eitjes zo snel mogelijk, omdat ze anders ten prooi kunnen vallen aan andere vissen in het aquarium – zelfs de ouders zelf zullen hun eigen eieren opeten als ze de kans krijgen. Een gezond, goed gevoerd Medaka-vrouwtje kan dagelijks tot wel 10-30 eitjes produceren gedurende het broedseizoen, dus consistente controle levert vaak een mooie oogst op.
Uitbroeden van Medaka-eieren in de praktijk
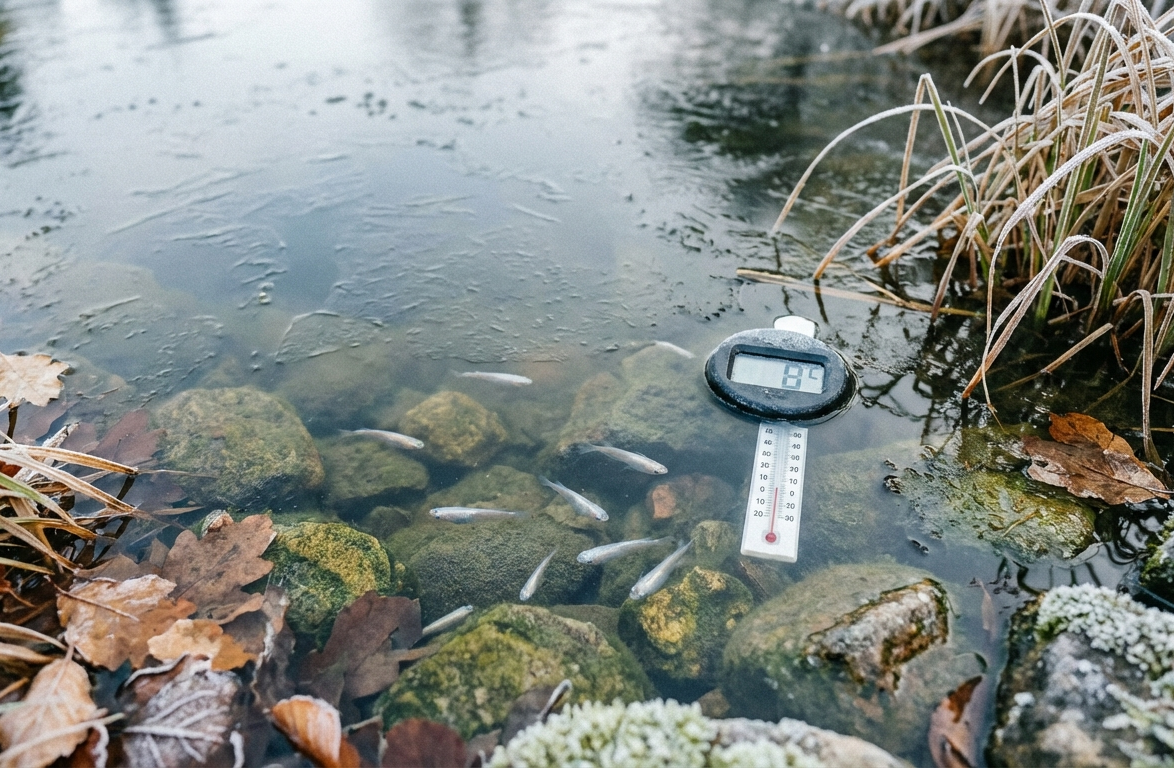
Zodra je de eitjes hebt verzameld, is de volgende stap het creëren van optimale omstandigheden voor het uitbroeden. Plaats de verzamelde eitjes in een apart bakje met schoon aquariumwater van dezelfde temperatuur als het hoofdaquarium. Een kleine glazen schaal, petrischaal of plastic bakje van ongeveer 10-15 cm doorsnede is perfect. De watertemperatuur is bepalend voor de uitbroeidduur: bij 20°C duurt het ongeveer 10-14 dagen, terwijl bij 25-28°C de eitjes al binnen 7-10 dagen kunnen uitkomen. Zorg voor goed, gefilterd licht maar vermijd direct zonlicht, wat de watertemperatuur te sterk kan laten fluctueren.
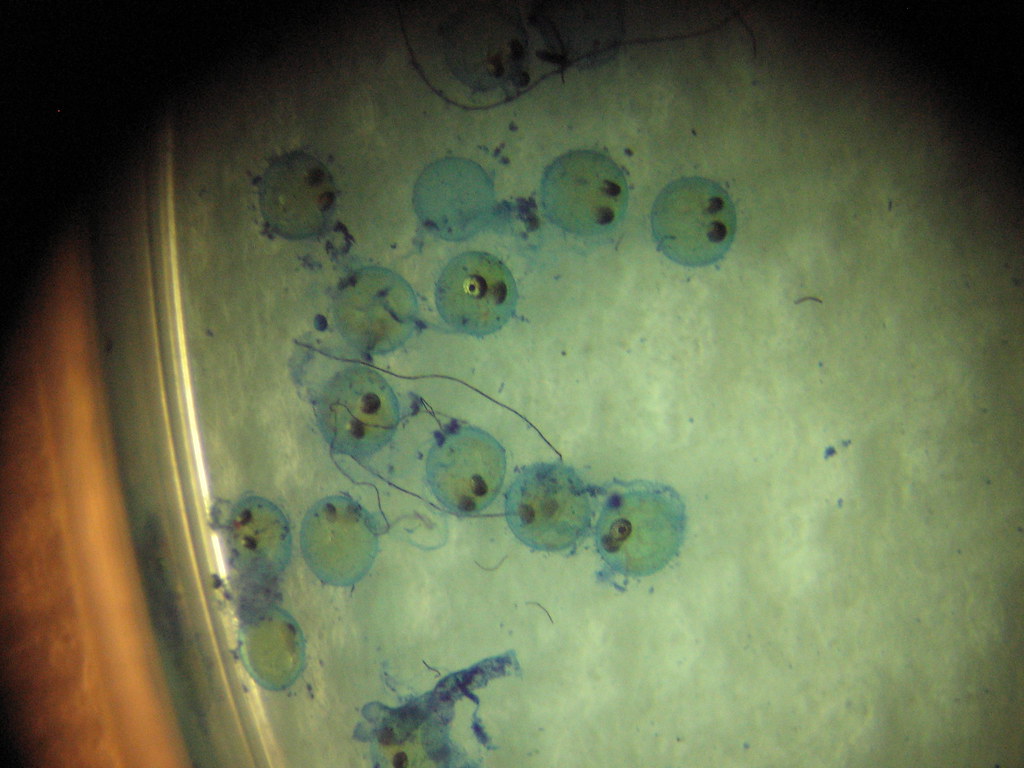
Waterkwaliteit is essentieel tijdens het uitbroedproces. Ververs dagelijks ongeveer 50% van het water in het uitbroedbakje met schoon, op temperatuur gebracht water. Dit voorkomt schimmelvorming en houdt het water zuurstofrijk. Veel kwekers voegen een paar druppels methyleenblauw toe aan het water, wat fungeert als antischimmelmiddel en de overlevingskans van de eitjes verhoogt. Je kunt ook een paar bladeren van Indiase amandelenboom (Catappa) toevoegen voor hun natuurlijke antibacteriële eigenschappen. Inspecteer de eitjes dagelijks en verwijder onmiddellijk alle witte of ondoorzichtige exemplaren, want dit zijn onbevruchte of afgestorven eitjes die schimmel kunnen veroorzaken.
Het moment van uitkomen is werkelijk magisch om te zien. Je zult merken dat gezonde eitjes helder en transparant blijven, en na enkele dagen kun je al de oogjes van de ontwikkelende embryo’s zien. Vlak voor het uitkomen worden de kleine Medaka’s steeds actiever in hun ei. De pasgeboren larven zijn minuscuul – ongeveer 3-4 mm – en hebben nog een dooierzakje waarvan ze de eerste 2-3 dagen leven. Zodra ze vrij zwemmen kun je beginnen met het voeren van infusoria, levend stof of speciaal opfokvoer voor vislarven. Na ongeveer een week kunnen ze overschakelen op pas uitgekomen artemia (pekelkreeftjes), wat ideaal is voor hun groei en ontwikkeling.
Het verzamelen en uitbroeden van Medaka-eieren is een bevredigende ervaring die je een dieper begrip geeft van deze wonderlijke visjes. Met de juiste zorg en aandacht kun je binnen enkele weken een hele nieuwe generatie Medaka’s opkweken. Vergeet niet dat geduld en consistentie de sleutel zijn tot succes niet elk eitje zal uitkomen, en dat is volkomen normaal. Door de stappen in deze gids te volgen en je eigen ervaring op te bouwen, ontwikkel je al snel een gevoel voor wat werkt in jouw specifieke situatie. Veel succes met je Medaka-kweek, en geniet van het prachtige schouwspel van nieuw leven dat in je aquarium tot bloei komt!


Leave a Comment
Your email address will not be published. Required fields are marked *